What To Do When Your Light Fixture Doesn’t Cover the Junction Box
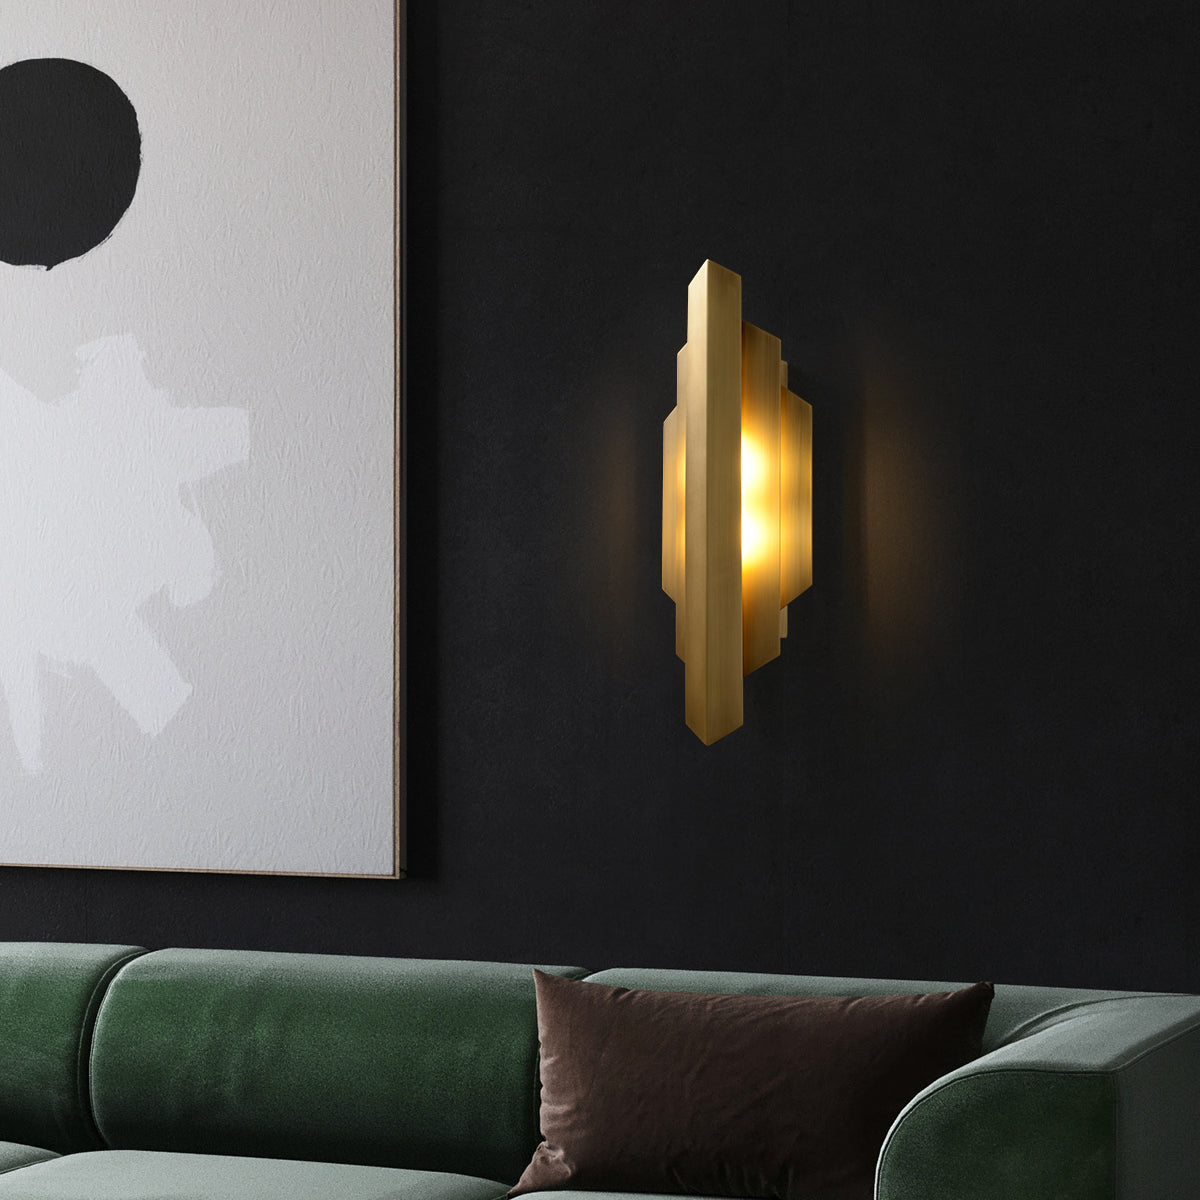
If you’ve installed a new light fixture, then you know how how it can completely update the look and feel of your room. But, modern styles, especially in sconces and kitchen island pendant lights these days tend to feature sleek, minimal designs. And these lights often come with very small canopies (the part of the fixture that connects to the ceiling or wall). And, although these give a clean, streamlined look, they probably won't cover up the larger hole of a standard junction box.
So if you’re dealing with the issue of a light that won't cover the hole in your ceiling or wall, don’t worry—you’re not alone. You definitely aren't the only person searching one for, “my light fixture is too big for the hole,” “my light doesn’t cover the junction box,” or “my light is too small to cover the hole in my ceiling.” The good news is that there are solutions to help you fix this problem and make your new light look perfect.
Understanding the Problem
When you remove an old light fixture, you usually find a metal or plastic box in the wall or ceiling. This is called the junction box, and it’s what your house’s wiring runs into. Junction boxes come in standard sizes. Most of them these days are four inches in diameter. The problem is that many modern light fixtures are designed with very small canopies. These small canopies often don’t cover the full opening of the junction box. As a result, when you try to install your new sconce, pendant light, or chandelier, you might see part of the hole around it or even have trouble attaching the fixture at all.
In other words, the hole in your ceiling or wall—the size of the junction box—is too big for the new fixture’s canopy. This can leave you with an unsightly gap or an impossible-to-mount light. It’s a common issue, and it’s frustrating because you might feel like you’ve chosen the perfect new fixture, only to discover it doesn’t fit nicely over the existing box.
So, What Do You Do When Your Light Fixture Won’t Cover Your Junction Box?
The first thing to remember is that you’re not stuck. You don’t have to return your new light or live with a gap around it. There are tools and techniques that electricians, contractors, and DIYers use every day to solve this exact problem. The two main solutions are:
- Mud Rings
- Electrical Box Covers
These products help “resize” the opening so your new light fixture can fit snugly and hide the hole.
What is a Mud Ring?
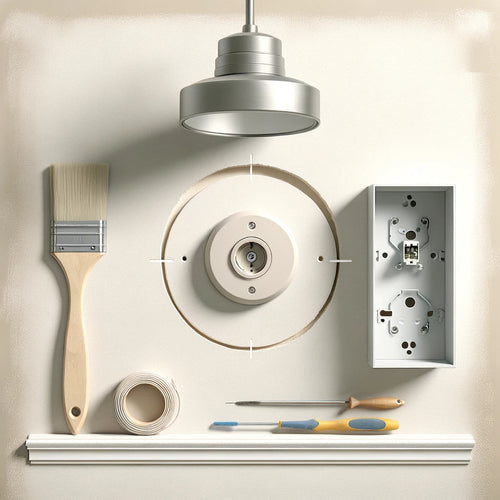
A mud ring is a thin metal or plastic frame that attaches to your existing junction box. Think of it like a reducer: it narrows the opening so that the hole now matches the smaller size of your new canopy. Mud rings are often used by electricians and drywall installers when they need to get a neat, clean finish around electrical boxes, outlets, and fixtures.
When you add a mud ring to your junction box, it extends slightly out from the wall or ceiling. This gives you a smaller, properly sized hole that your new light fixture can cover. The mud ring won’t show once you’re finished because you’ll be covering it with a bit of drywall compound (also known as “mud”) and then painting over it. After this finishing work, no one will ever know you had to make adjustments.
What is an Electrical Box Cover?
An electrical box cover is basically a flat plate that attaches over the junction box. It covers the hole completely, except for the center area where you’ll mount your fixture. Some box covers come with pre-drilled holes where you can attach your light fixture. If yours doesn’t have these holes, you might need to drill and tap them yourself to fit your fixture’s mounting hardware. Once the cover is in place, you’ll see a neat, small opening that should match the size of your fixture’s canopy. Or you may get one that has a "knockout" in the center where you can simply knock out the little semi-attached metal piece and then you have a hole.
The Downside: More Work to Make It Look Perfect
While mud rings and electrical box covers can solve the size problem, they do add one extra step. If you just attach a mud ring or a box cover and then install your light, you’ll probably still see the plate or ring’s outline. This can look like a patchy addition rather than a natural part of your ceiling or wall. Most homeowners want a clean, finished look, especially when installing decorative lighting in areas like the living room, entryway, or kitchen island.
To achieve a flawless finish, you’ll need to do some “mud work.” This involves spreading drywall compound around the mud ring or cover, blending it into the existing wall or ceiling so everything looks smooth and seamless. Here are the basic steps:
-
Attach the Mud Ring or Box Cover: Follow the product’s instructions to securely fasten it to the junction box. Make sure it’s level and that it aligns with where you want your new fixture.
-
Apply Drywall Mud: Using a drywall knife, spread a thin layer of compound around the edges of the new ring or cover. Feather it out into the surrounding drywall so there’s no hard line between the old surface and the new piece.
-
Sand It Smooth: Once the compound dries, sand the area lightly until it’s smooth and flush with the rest of the ceiling or wall. You may need to apply a second or third coat of mud, sanding between coats, to get a truly seamless look.
-
Prime and Paint: After sanding, wipe away any dust and apply a primer, then paint the area to match the rest of the room. Good color matching and a quality paint job will make the patched area disappear.
By the end of this process, your ceiling or wall should look like it never had a large hole. The mud ring or box cover will be hidden behind a smooth surface, and your new fixture’s canopy will fit perfectly.
Practical Tips to Make the Job Easier
- Choose the Right Product: Different mud rings and box covers fit different box sizes. Measure your existing junction box before buying a solution so you get the correct one. We've found that the manufacturer Steel City has lots of options available. But note that you'll likely have to go to an electrical "parts house" to have them order what you need, or have your electrician do that for you.
- Check for Mounting Holes: If you buy a solid box cover, you may need to drill holes so you can attach your light fixture. Make sure you have the right tools for drilling and tapping if necessary.
- Consider Hiring a Professional: If you’re not comfortable with drywall work or electrical wiring, consider hiring a licensed electrician or a handyman. They can ensure the job is done safely and looks great.
- Patience is Key: Don’t rush the drywall and painting process. Allow enough drying time for the compound between coats, and take your time sanding for a smooth surface. Patience during these steps will pay off with a better final look.
- Safety First: Always turn off the power to the circuit at the breaker box before working on any electrical project. Use a voltage tester to confirm that wires are not live before you begin.
Enjoying the Finished Result
Once you’ve gone through these steps, you’ll have a beautiful new light fixture that looks just right in your room. No more seeing an awkward gap or a too-small canopy that doesn’t cover the hole. And by taking the time to properly adjust the size of the opening and blending it into your existing wall or ceiling, you’ll end up with a professional-looking result.
In the end, many homeowners who face this problem are surprised at how good the final result looks. It may take a little extra time and effort, but the finished appearance is worth it. You’ll have a stylish, modern light fixture that complements your space, rather than drawing attention to a messy installation.
Conclusion
If you’re struggling with a mismatch between your new fixture and your junction box, remember that you’re not the only one searching for “my light fixture doesn’t cover the hole” or “my light is too small to cover the junction box.” The solution is often as simple as installing a mud ring or an electrical box cover and then doing a bit of drywall finishing. With patience, the right tools, and possibly some help from a professional, you can achieve a seamless, polished look that lets your new light fixture shine—literally and figuratively.


